How to Make Road Trip Videos with Animated Maps
How to Make Road Trip Videos with Animated Maps
Road trips create some of the most memorable travel experiences.
Whether you’re driving along California’s Pacific Coast Highway, exploring America’s national parks, touring Europe by car, or documenting a weekend getaway, a road trip tells a story that unfolds across miles, cities, and landscapes.
Instead of sharing dozens of unrelated photos, many creators now use animated maps to show the entire journey.
Animated road trip videos help viewers understand where you traveled, how far you drove, and what happened along the way.
In this guide, you’ll learn how to make road trip videos with animated maps and create travel content that is perfect for YouTube, Instagram Reels, TikTok, and travel blogs.
Why Animated Maps Make Better Road Trip Videos
A collection of photos shows what you saw.
An animated map shows the story of the journey.
With an animated route, viewers can instantly understand:
- Where the trip started
- Where it ended
- Which cities you visited
- How the route progressed
- How far you traveled
This makes travel videos more engaging and easier to follow.
What Is a Road Trip Map Animation?
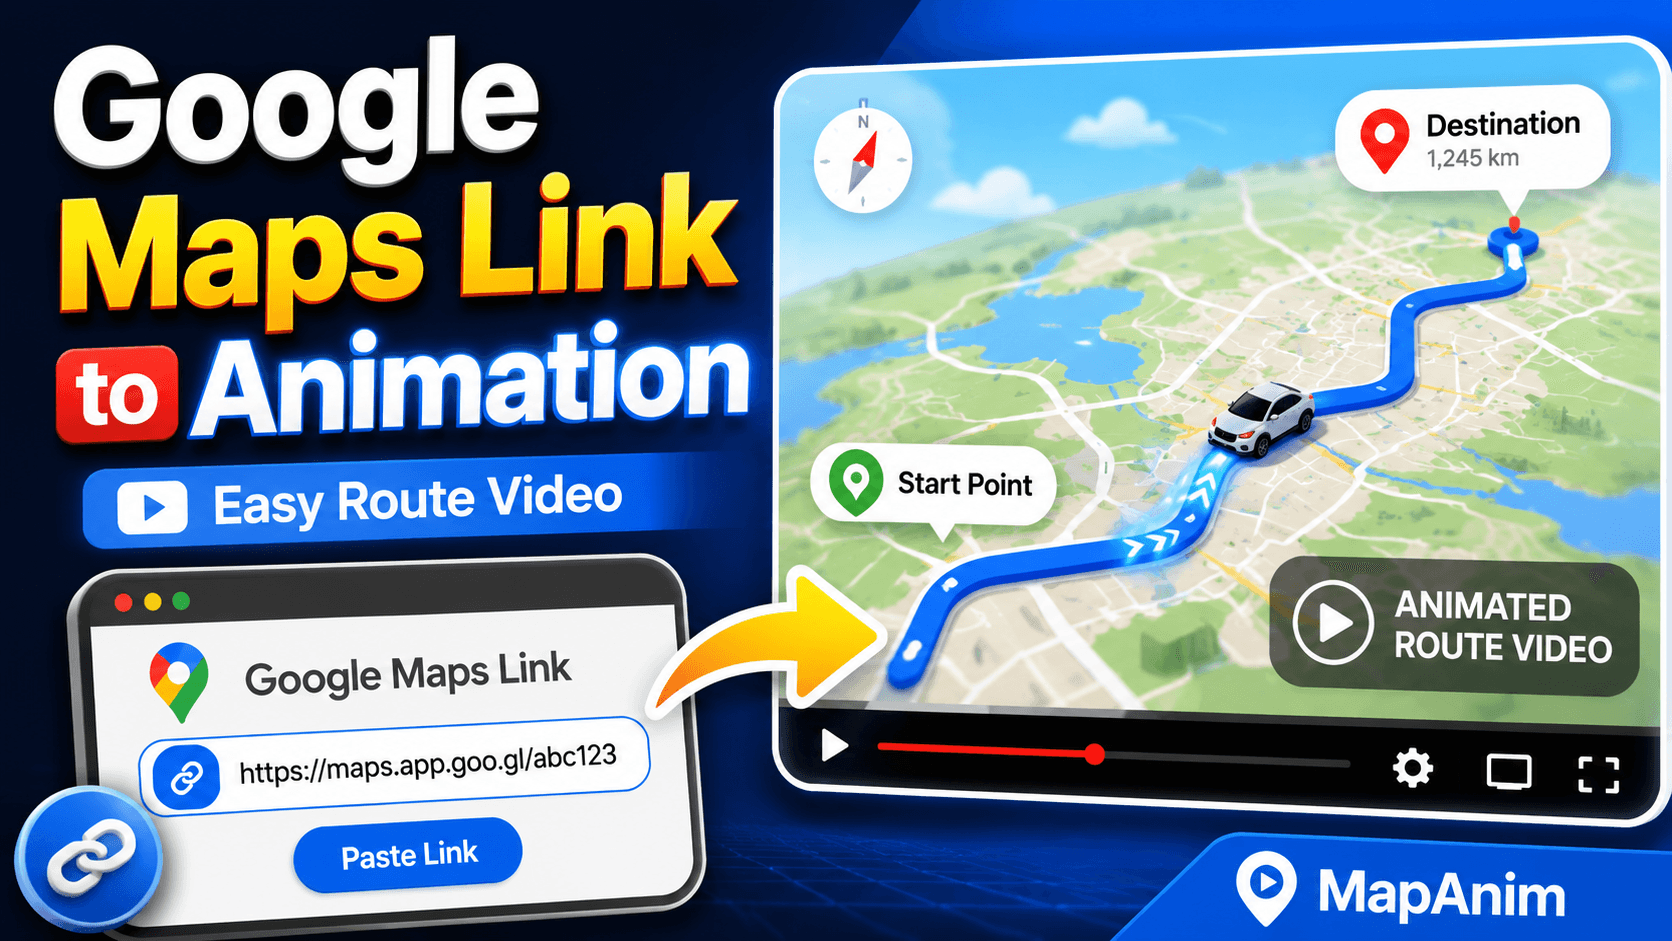
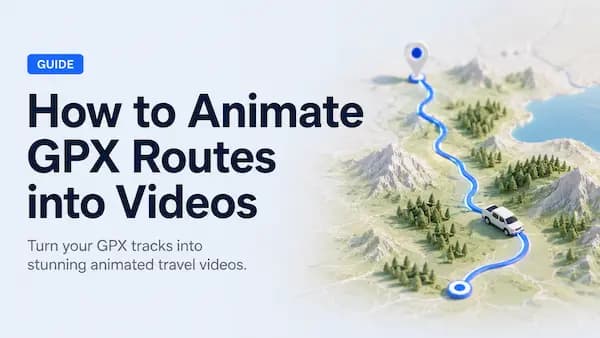
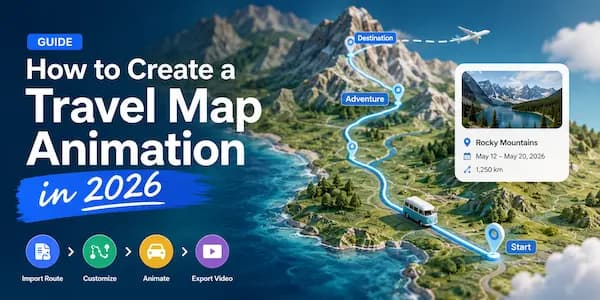
A road trip map animation is a video that visualizes a driving journey on a map.
Typically, it includes:
- Start location
- Destination
- Route lines
- Animated vehicle
- Travel photos
- Location labels
- Camera movement
- Journey progress
The route is gradually revealed as the vehicle moves across the map.
The result feels much more dynamic than a static map screenshot.
Popular Road Trip Video Examples
Road trip animations work particularly well for journeys such as:
California Road Trip
San Francisco
↓
Los Angeles
↓
Las Vegas
↓
Grand Canyon
Route 66 Adventure
Chicago
↓
St. Louis
↓
Oklahoma City
↓
Santa Fe
↓
Los Angeles
Scottish Highlands Road Trip
Edinburgh
↓
Glencoe
↓
Isle of Skye
↓
Inverness
Iceland Ring Road
Reykjavik
↓
South Coast
↓
East Fjords
↓
North Iceland
↓
Reykjavik
Step 1: Build Your Road Trip Route
The first step is creating the route.
There are several ways to do this.
Create the Route Manually
Simply select:
- Starting point
- Destination
- Stops along the way
Example:
San Francisco
↓
Los Angeles
↓
Las Vegas
↓
Grand Canyon
This is often the fastest method.
Import GPS Data
If you’ve already completed the trip, you can import route data from:
- GPS devices
- Navigation apps
- GPX files
- Fitness trackers
This allows you to recreate the exact route you drove.
Generate a Route with AI
Many modern travel tools allow users to describe a trip using natural language.
Example:
Road trip from San Francisco to Las Vegas with stops at Yosemite and Death Valley.The route can then be generated automatically.
Step 2: Choose a Vehicle Animation
The moving vehicle is often the most recognizable part of a road trip animation.
Most creators choose a car model.
Animated vehicles help viewers follow the route naturally.
Vehicle options may include:
- Sedan
- SUV
- Camper Van
- Sports Car
- Off-Road Vehicle
The vehicle should match the style of the trip.
Step 3: Add Important Stops
Road trips are about more than just driving.
Add key destinations to help tell the story.
Examples include:
- National Parks
- Scenic Overlooks
- Restaurants
- Hotels
- Beaches
- Landmarks
- Small Towns
These stops help break the route into meaningful chapters.
Step 4: Add Travel Photos
Photos transform a route into a personal travel story.
Consider adding photos from:
Departure
Starting the adventure.
Scenic Stops
Viewpoints and landscapes.
Local Experiences
Restaurants, cafés, and attractions.
Accommodations
Hotels, cabins, and campsites.
Destination Highlights
The most memorable moments of the trip.
Example Road Trip Story
San Francisco
↓
Los Angeles
↓
Las Vegas
↓
Grand Canyon
Photos:
Friends at the start

↓

Coffee shop stop

↓

Rental car photo

↓

Grand Canyon viewpoint
This simple structure instantly creates a narrative.
Step 5: Choose the Right Map Style
The map style influences the overall feel of the video.
Street Maps
Best for:
- City driving
- Navigation-focused routes
Satellite Maps
Best for:
- Scenic drives
- National parks
- Coastal routes
Terrain Maps
Best for:
- Mountain roads
- Adventure travel
Minimal Maps
Best for:
- Clean travel content
- Social media videos
Step 6: Customize the Animation
This is where the video becomes unique.
Popular customizations include:
Route Colors
Match your travel branding.
Route Thickness
Make routes easier to see.
Location Labels
Show cities and destinations.
Camera Movements
Follow the route dynamically.
Animation Speed
Control how quickly the journey progresses.
Step 7: Highlight Regions
Many modern route animation tools allow you to highlight regions on the map.
Examples:
- California
- Nevada
- Arizona
- National Parks
This helps viewers understand the broader journey.
Region highlighting is especially effective for long-distance road trips.
Step 8: Preview the Video
Before exporting, review:
- Route accuracy
- Vehicle movement
- Photo timing
- Labels
- Camera transitions
- Overall pacing
Small adjustments can dramatically improve the final result.
Step 9: Export for Social Media
Choose the correct aspect ratio for your platform.
9:16 Vertical
Best for:
- TikTok
- Instagram Reels
- YouTube Shorts
16:9 Landscape
Best for:
- YouTube
- Travel documentaries
- Travel presentations
1:1 Square
Best for:
- Instagram Feed
- Facebook Posts
Best Road Trip Routes for Animated Videos
Some routes naturally create better map animations.
California Coast Road Trip
San Francisco
↓
Monterey
↓
Big Sur
↓
Santa Barbara
↓
Los Angeles
American Southwest
Las Vegas
↓
Zion
↓
Bryce Canyon
↓
Monument Valley
↓
Grand Canyon
Iceland Ring Road
Reykjavik
↓
South Coast
↓
East Fjords
↓
North Iceland
↓
Reykjavik
European Road Trip
Amsterdam
↓
Brussels
↓
Paris
↓
Lyon
↓
Nice
Common Mistakes to Avoid
Too Many Stops
Focus on important locations.
Overloading the Map
Keep labels and markers readable.
Using Low-Quality Photos
Strong visuals make a huge difference.
Ignoring Map Style
The right map can dramatically improve the final video.
Making Videos Too Long
Shorter videos usually perform better on social media.
Why Travelers Prefer Local Video Generation
Many online video tools require users to upload:
- Travel photos
- Route data
- GPS tracks
to cloud servers.
Local processing offers several advantages.
Better Privacy
Your travel data remains on your device.
Faster Workflow
No waiting for uploads.
Better Control
You decide where your files are stored.
Faster Rendering
Large routes and photos can be processed more efficiently.
Frequently Asked Questions
What is the best way to create a road trip video?
Using an animated map is one of the easiest ways to show your route, destinations, and travel story.
Can I add photos to my road trip animation?
Yes.
Photos help turn a route into a more engaging travel story.
Can I animate a completed road trip?
Absolutely.
You can recreate a finished trip using route data, GPX files, or manually selected destinations.
Which aspect ratio should I use?
For social media, 9:16 vertical video is usually the best option.
For YouTube, 16:9 is recommended.
Can I create road trip videos on mobile?
Yes.
Many modern route animation tools support Web, Android, and iPhone workflows.
Final Thoughts
A road trip is more than a collection of destinations.
It’s a journey.
Animated maps help visualize that journey in a way that photos alone cannot.
By combining:
- Routes
- Vehicle animations
- Travel photos
- Labels
- Map styles
you can create engaging road trip videos that are perfect for social media, travel blogs, YouTube channels, and personal memories.
Create Your Own Road Trip Animation
Build your route, add photos, customize the map, and turn your road trip into an animated travel video with MapAnim.