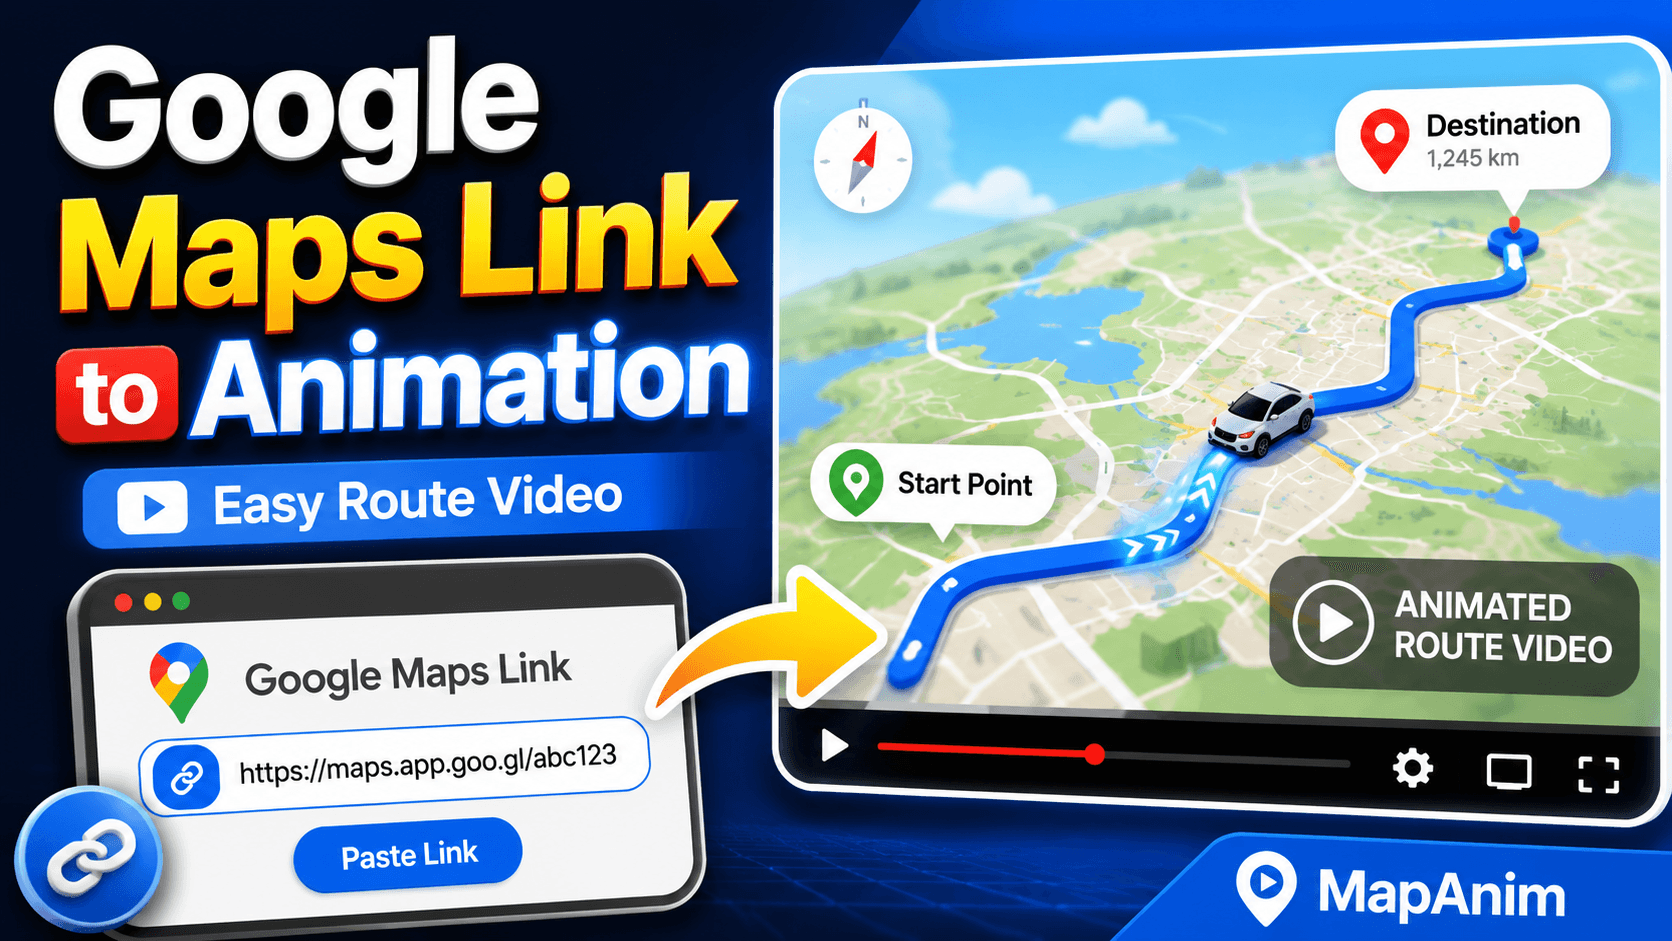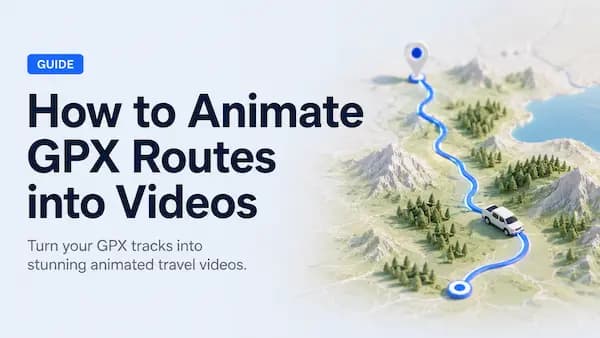
How to Create a Travel Map Animation in 2026
Travel vlogs, TikTok path reels, and YouTube shorts are more popular than ever. But if you are still showing static screenshots of Google Maps to explain your journey, you are missing out on an incredible way to engage your audience.
An animated travel map transforms raw geographic data into a cinematic storyline. In 2026, thanks to browser-based 3D engines and artificial intelligence, you no longer need complex video editing software like After Effects to achieve this.
In this ultimate step-by-step guide, we’ll show you how to create a high-quality travel map animation in minutes using modern, privacy-first online tools.
Why 2026 is the Year of AI & 3D Map Animation
Historically, creating a moving line on a map required hours of keyframing. Today, the landscape has completely shifted due to three major technological advancements:
- AI-Powered Trip Generation: You no longer need to manually plot every single coordinate. You can simply type a natural language prompt, and AI will understand the best routes and landmarks.
- True 3D Terrain Rendering: Modern map animators display realistic elevation data, allowing your viewers to see the actual mountains, valleys, and coastal paths you conquered.
- Local Browser Processing: Heavy rendering has moved from laggy cloud servers directly to your device, providing instant real-time previews while keeping your travel data 100% private.
Step-by-Step: How to Create Your First Animation
Step 1: Set Up Your Travel Route
The foundation of any great map animation is the path itself. Depending on your travel style, you have three distinct ways to plot your journey:
- Manual Waypoint Entry: Type in your start point, destination, and key stops along the way (e.g., Tokyo → Mount Fuji → Kyoto).
- AI Prompts: Use an integrated AI assistant to describe your trip, such as “A scenic driving route along the California West Coast,” and let the system automatically sketch the itinerary.
- Importing GPX Tracks: For hikers, cyclists, and off-road explorers, uploading your real
.gpxfile from your Garmin or Strava is the best way to visualize the exact path you took.
Step 2: Choose and Customize Your 3D Vehicle
The vehicle represents the movement and tone of your journey. To make your travel video look professional, choose an animated model that matches your real-world experience:
- Road Trips: Select a realistic 3D SUV, classic car, or a camper van.
- Cross-Continental Flights: Use a commercial plane or a jet model that banks realistically into curves.
- Adventure Sports: Choose animated motorcycles, bicycles, or a walking/hiking avatar.
Pro Tip: Look for tools that support dynamic trail effects. A subtle color trail trailing behind your moving car or plane adds a beautiful sense of speed and progression to the video.
Step 3: Add Photos and Storytelling Highlights
A map line alone is just geography; your memories make it a story. To build an emotional connection with your audience, drop media points directly onto your map timeline:
- Upload Photos: Pin high-resolution travel snapshots to specific stops.
- Add Quick Text Context: Include short text descriptions or fun notes (e.g., “Sunrise at Mather Point” or “Best pasta in Rome”).
- Location Title Cards: Ensure major cities pop up with crisp, easy-to-read typography as the vehicle arrives.
Step 4: Adjust the Map Style and Camera Perspectives
Different trips require different visual environments. Switch your map canvas style to fit your specific aesthetic:
- Satellite/Globe View: Best for global flight paths crossing oceans.
- 3D Terrain Map: Essential for hiking routes, mountain passes, and scenic road trips.
- Minimalist Vector Style: Perfect for clean, branded corporate travel Vlogs.
Once your style is selected, configure the dynamic camera tracking. Instead of a boring static top-down view, set the camera to follow the vehicle from a cinematic, low-angle perspective that rotates dynamically around tight mountain curves.
Step 5: Preview and Export for Social Media
Before generating your final file, do a full-screen real-time preview to check for text readability, photo placement, and timing. When you are ready to export, consider your target platform:
- Vertical (9:16): Perfect for TikTok, Instagram Reels, and YouTube Shorts.
- Horizontal (16:9): The gold standard for widescreen YouTube vlogs and travel blogs.
Advanced Editor Tip: If you are a professional videographer who does extensive post-production, avoid heavily compressed MP4 files. Opt for a tool that allows lossless frame-by-frame image export packaged in a ZIP file. This gives you maximum color-grading flexibility inside Premiere Pro, CapCut, or DaVinci Resolve.
Choose the Right Tool: Why Local Processing Matters
When picking a travel map maker, choose one that utilizes local device processing. Traditional online tools force you to upload large photos, complex GPX tracks, and private itineraries to remote servers, resulting in long upload lines and rendering delays.
With local processing:
- Your travel data stays private on your own device.
- Previews are instantaneous because there are no server queues.
- High-resolution photo rendering doesn’t eat up your internet bandwidth.
Bring Your Travel Videos to Life Today
Creating a map animation no longer requires a degree in motion design. By focusing on smart routes, realistic 3D vehicle tracking, and map-based storytelling, you can upgrade your travel videos in just a few clicks.
Ready to turn your routes into cinematic travel stories? Start creating your first travel map animation for free with MapAnim, or sync your projects on the go with the MapAnim Android App.